handycrowd
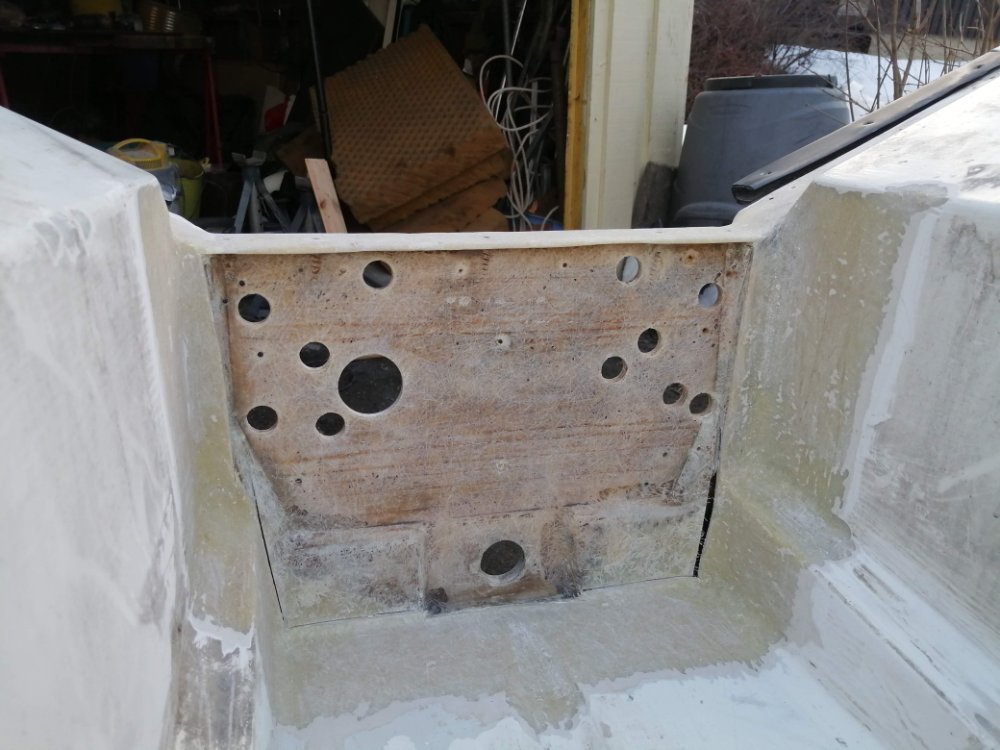
Realized I didn't finish posting the "working" pictures here in case anyone else wants to fix the transom on a Beaver 380...
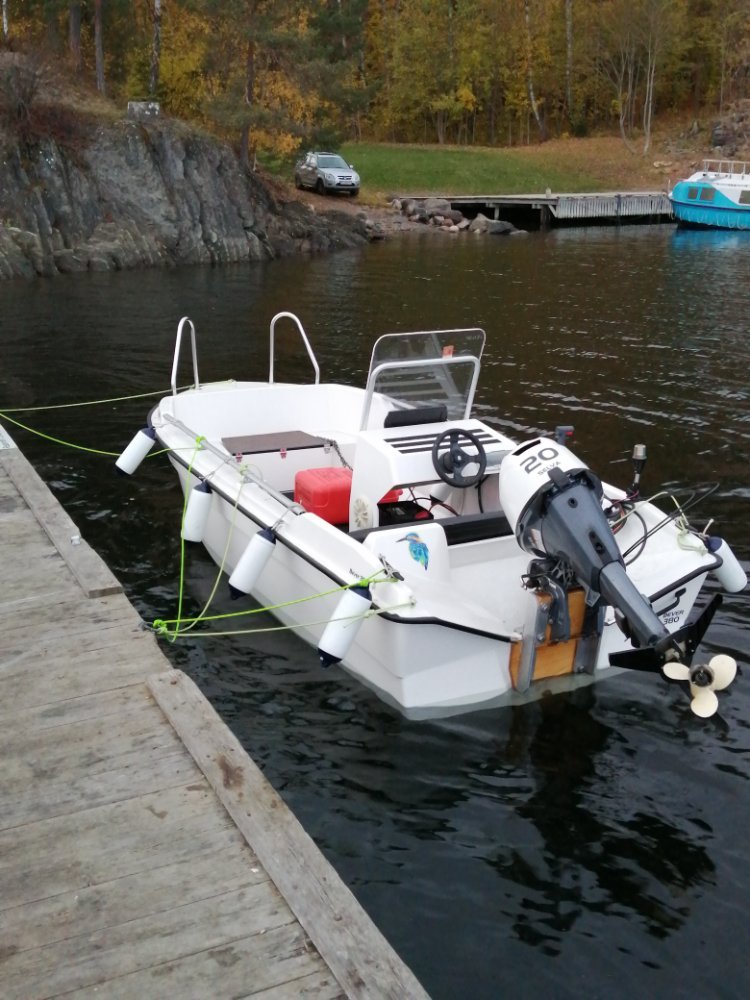
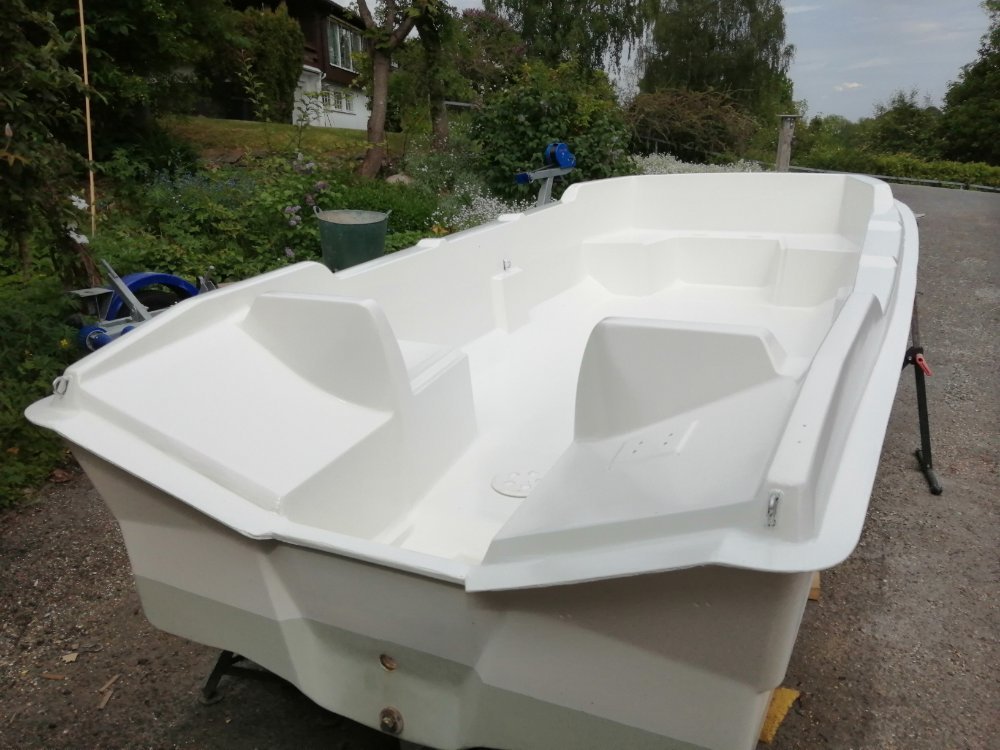
The boat has been in the water all summer with no problems, it is a very stable little runabout. Smiles all around from the teenagers...
Super clean!
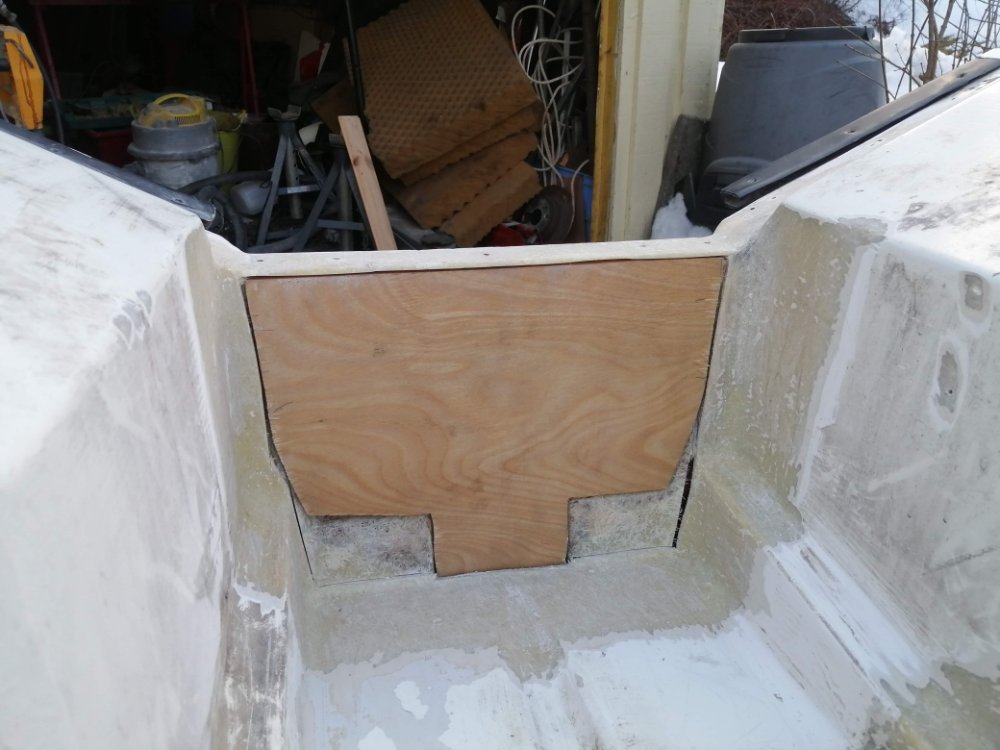
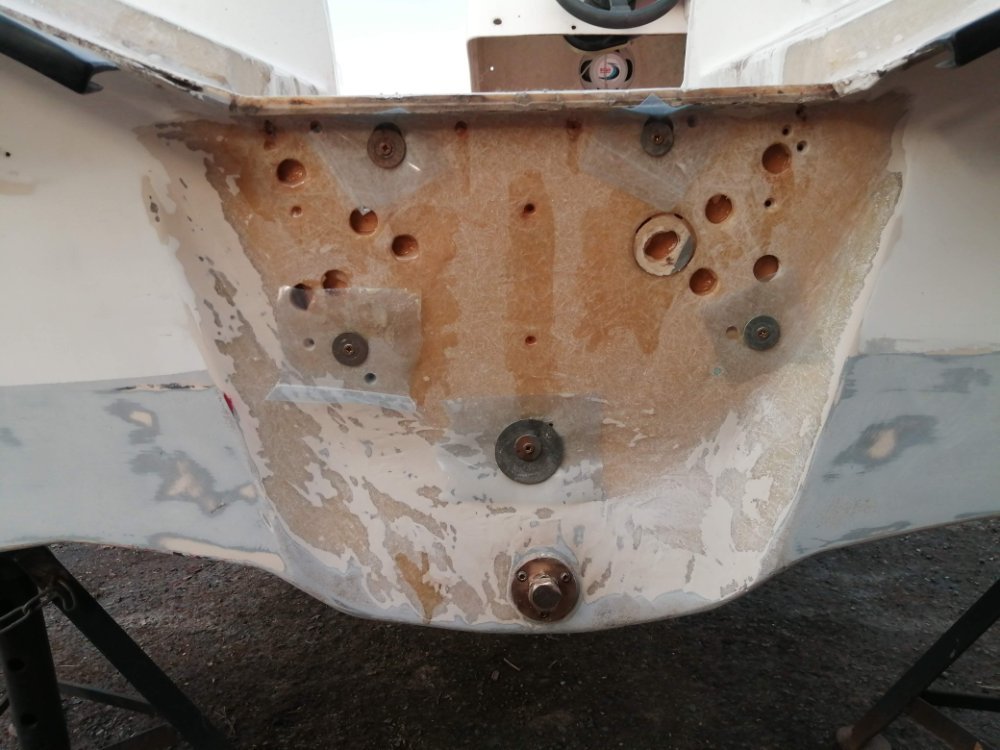
New marine ply (or oiled plywood in this case, marine ply locally would mean a trip to see the bank manager). Oiled ply needs to be roughed up with a grinding wheel first.
Slightly thickened epoxy to 'glue' back into place the original piece of fiberglass I cut out. Waste not, want not!
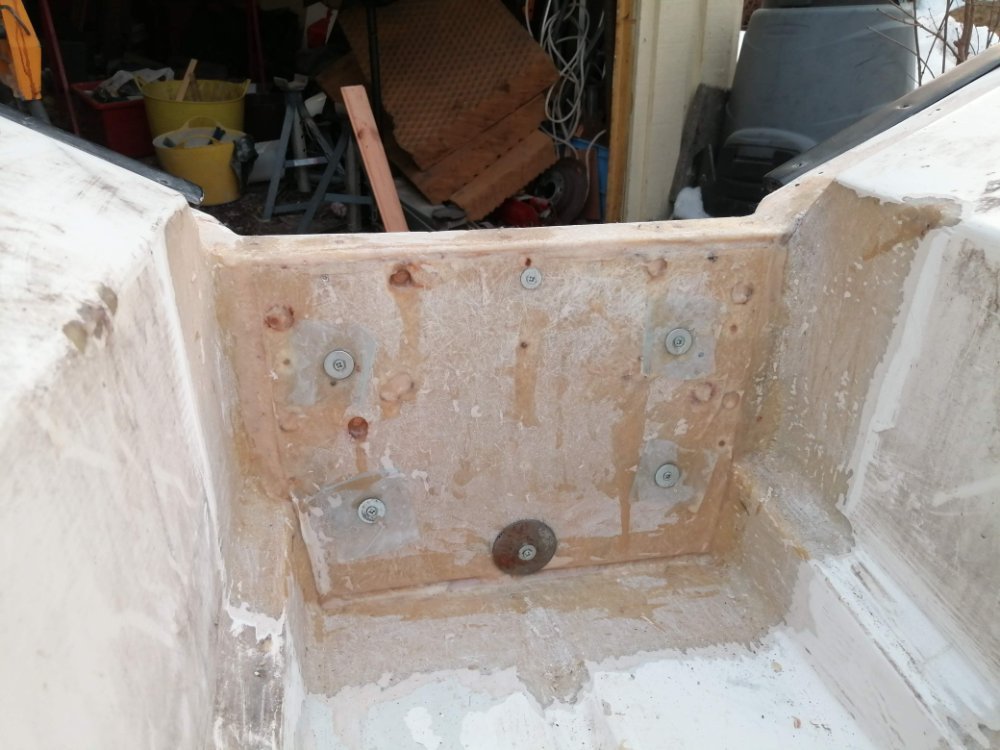
Don't forget to put polythene under the fixing washers... (or you'll have to grind them off!).
Several layers of fiberglass to 'tab' all the corners and the first coat of 'sparkle' to hide my terribly untidy fiberglass, I went for strength over beauty ;-)
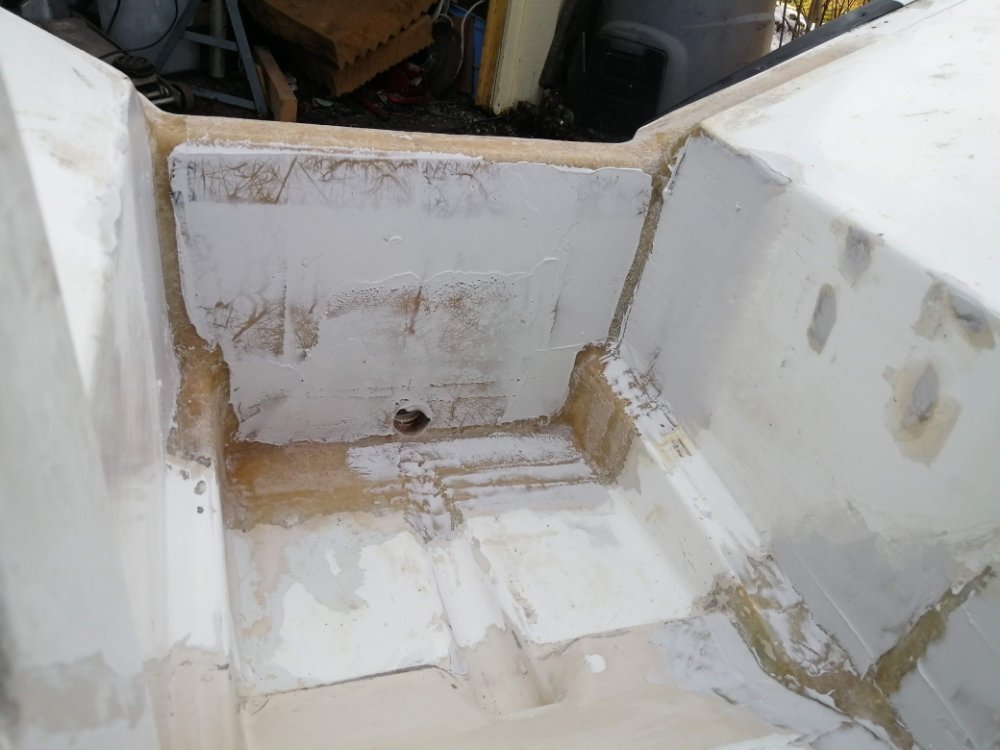
Roller and 'tip', working hella fast using the Biltema paint. Jotun next time...
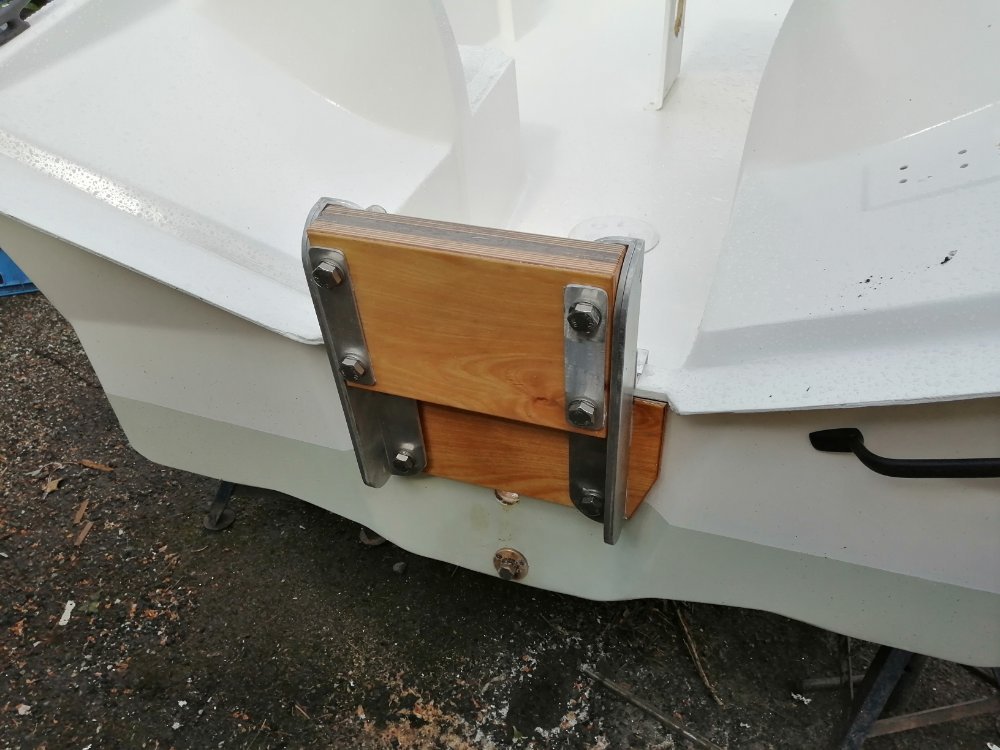
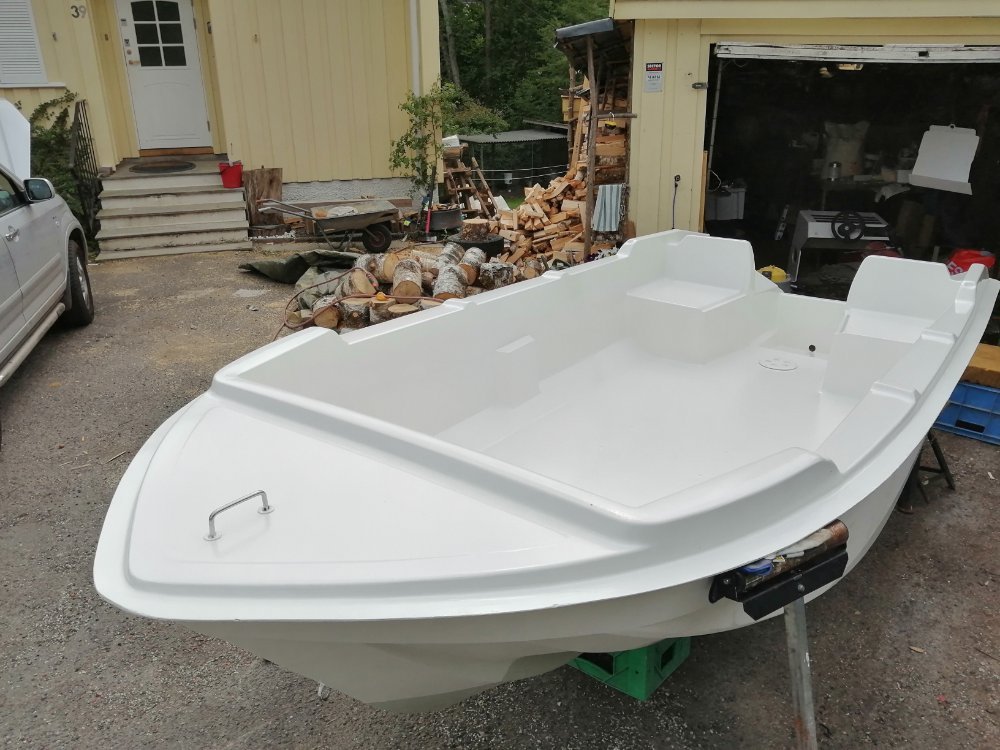
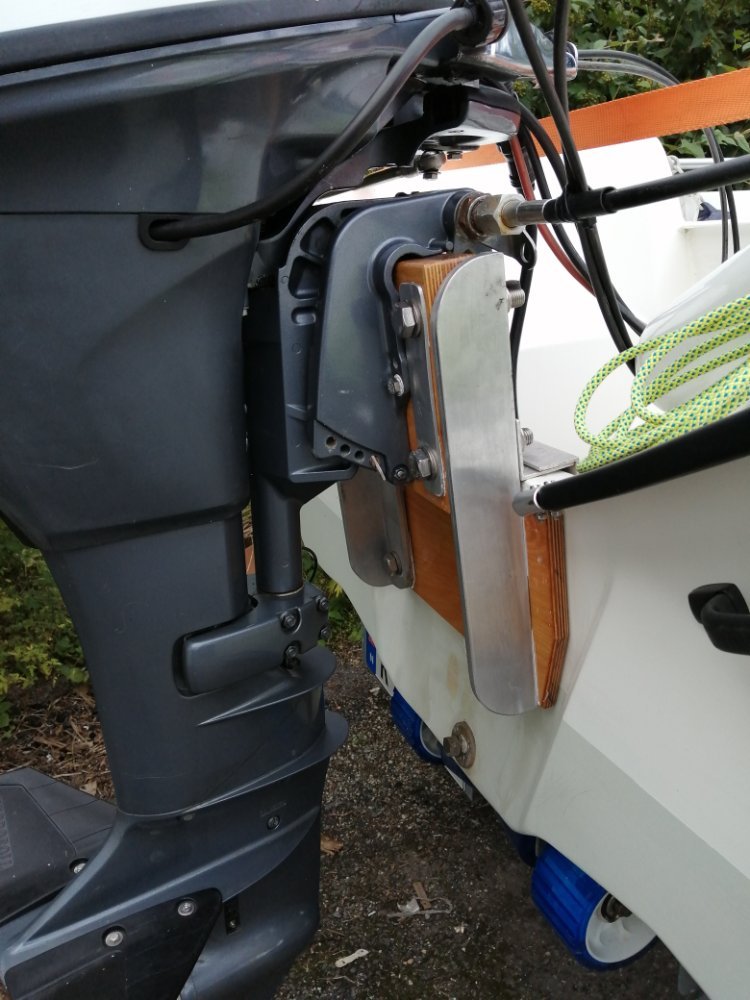
Home made engine riser/bracket so I could use my long stem Yamaha (Selva).
She floats... (forgive the slightly paranoid overnight mooring ropes...)